Instructions to create a new gallery
- Go to a page or post in the editor to make changes.
- Click Add to add an element and select the area where you want the gallery to appear.
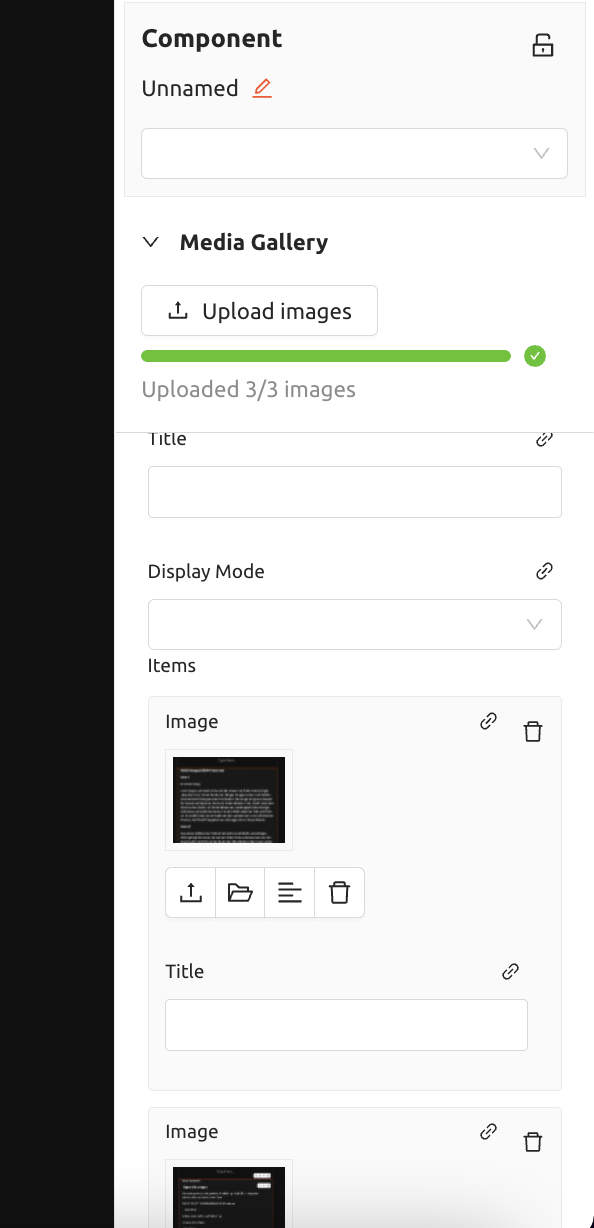
- Search for the Media Gallery component and add it.
- You can give the image gallery a title by clicking Attributes > Title in the column on the right.
- You can also change the display under Display Mode.
- Select the gallery and click Attributes > Items > Create in the right column to add an image.
- Upload an image or use images from our royalty-free image database.
- You can also give the image a title
- Repeat these steps for all images you want to add
- Save and Publish the article or page to finalize the gallery.
Upload multiple images at once
1. Create a new gallery as described in the previous section.
2. Click the Upload Images button in the Media Gallery section.
3. This will open the native file explorer of your operating system. There you can use the usual keyboard shortcuts to either select multiple images (CMD+click [Mac] or Ctrl+click [Windows]) or directly select all images in the folder (CMD+A [Mac] or Ctrl+A [Windows]).
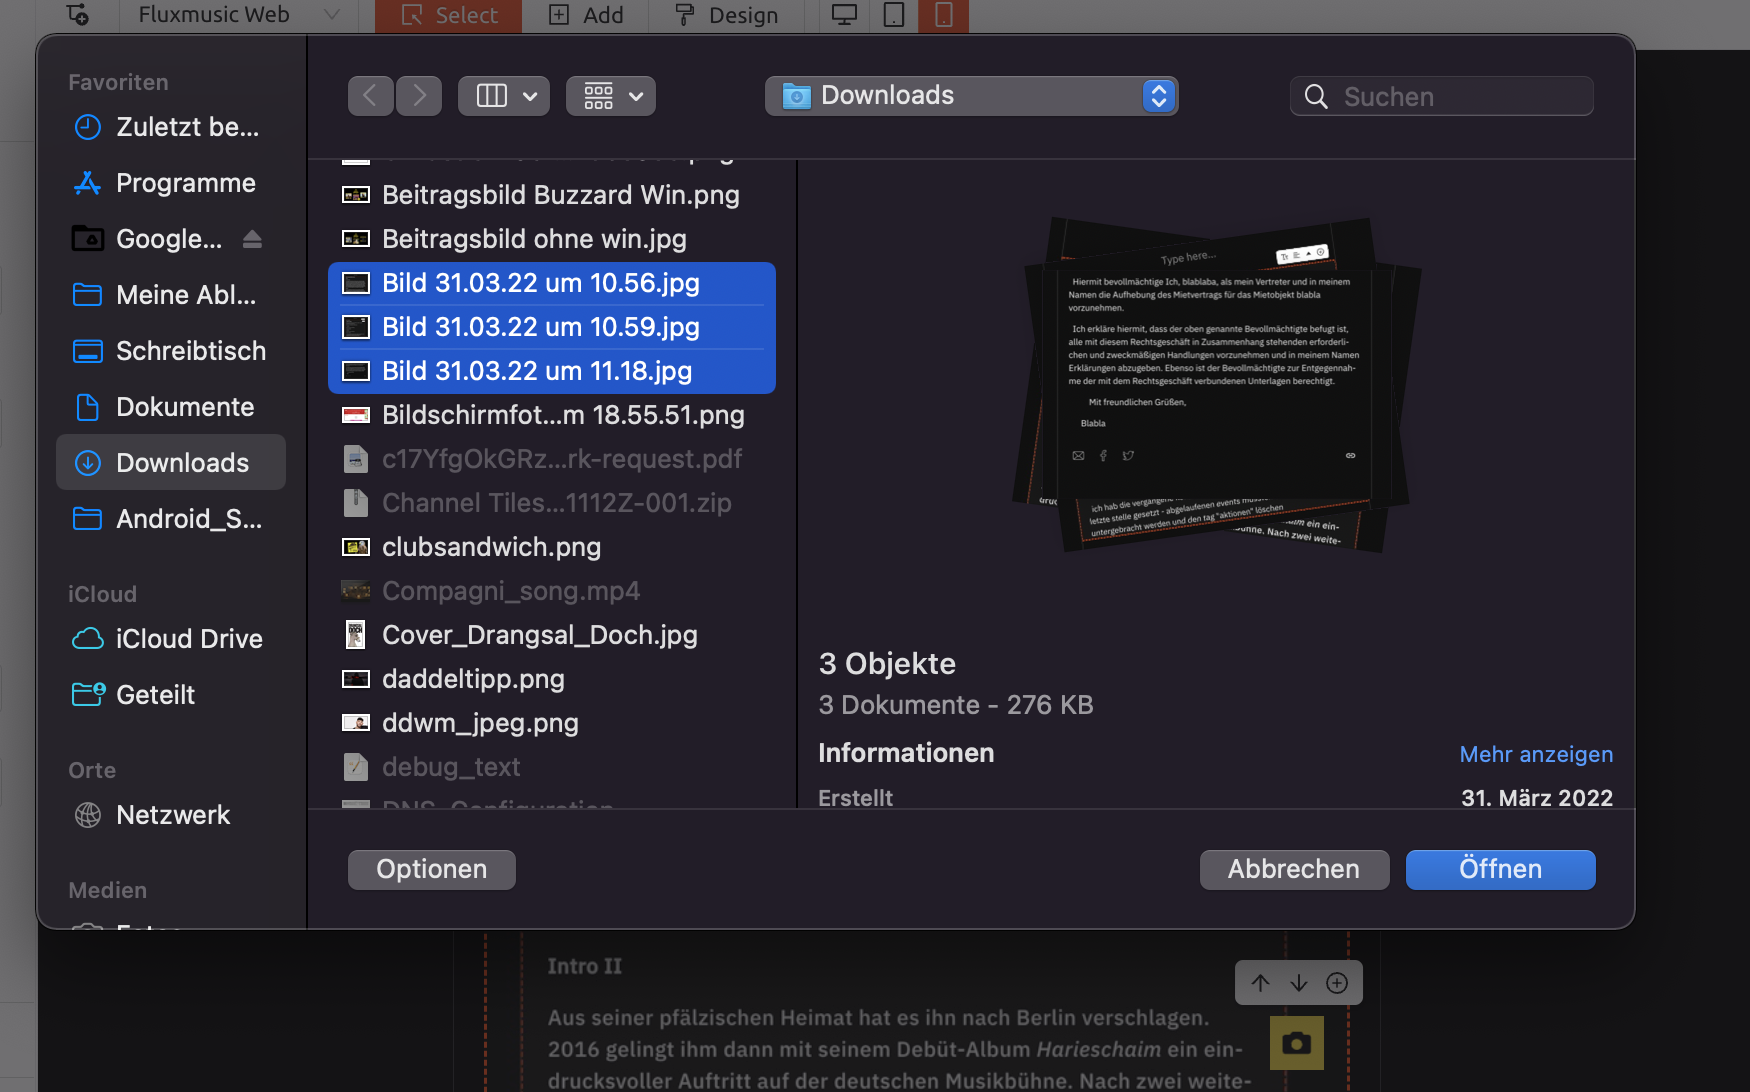
4. After clicking Open the images will be added to the gallery. There you can optionally add a title to them. Click on Save to save the gallery. Click Publish to publish the gallery directly and it will appear on the website.
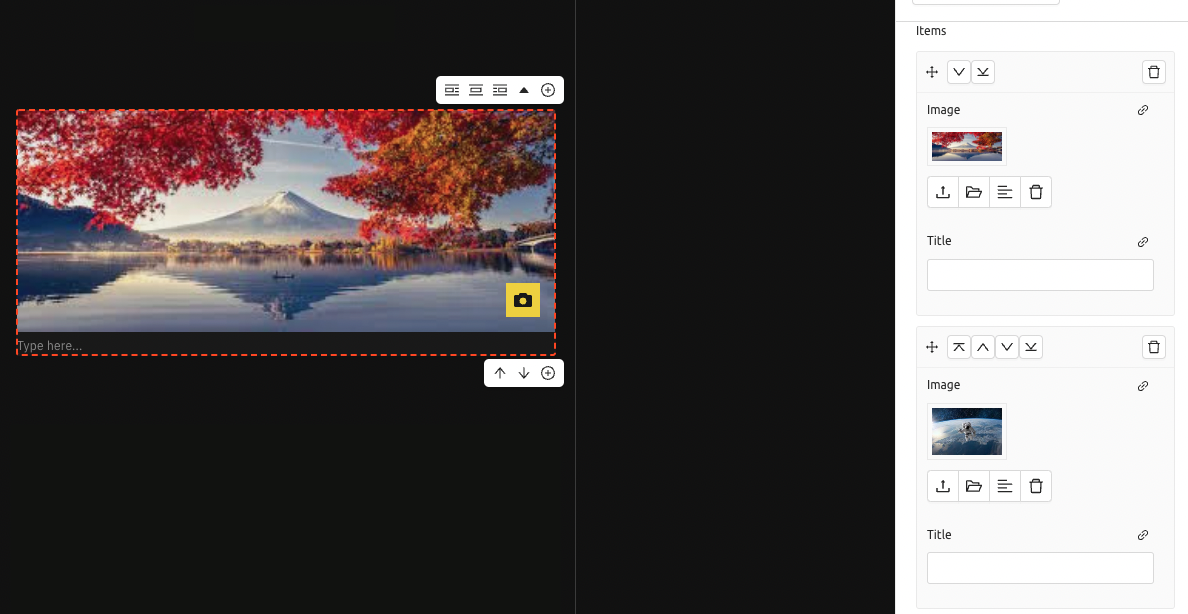
Change the order of your images
You can define which of the uploaded images should be in which position in your Media Gallery.
1. On the right side of the Items overview, click on the arrow cross symbol above the image whose order you want to change.
2. Now you can drag and drop the image to the position where you want to place it.
3. Alternatively, you can change the position of the image by clicking on the ⋀ or ⋁ button to the right of the arrow cross icon.
4. Automatically position an image at the very beginning or at the end of your gallery by clicking ⊼ or ⊻.